Did you know that 35 million people view public Facebook events every day? That makes creating a Facebook event a powerful way to get your business in front of more consumers.
If your business ever hosts special events, that is the time to create a Facebook event and get more attendees.
How can you get started with Facebook events? Let’s talk about how to create, optimize and promote your events.
Let's walk through creating your Facebook event, each step of the way!

1. Write a Catchy Event Name
When creating your Facebook event’s name, make sure to keep it short, accurate and catchy. You only get 64 characters, so make them count!
If you need help creating a headline/event name that will resonate with readers, use a title grader like CoSchedule’s Headline Analyzer to make sure you are creating an event that people will want to attend.
2. Add Your Location and Make Sure Facebook Recognizes It
Whether you’re hosting the event at your business or offsite, make sure to add your location.
Your business address will probably be the default location for your event (Facebook defaulted to RevLocal as the location for the event in the screenshots).
If you’re hosting the event somewhere other than your business, you’ll need to begin typing the address and then let Facebook find the location and pinpoint it on a map.
3. Add a Descriptive Description
As a Facebook user, there’s nothing worse than getting a notification about a new event near me only to click and find no information. Give me something! How else can I know if I really want to go?
Give your audience the details they need to decide if your event is for them. Here are some things you might want to add to your event description:
While we’re at it, don’t forget to check your grammar! Use free tools like Grammarly’s Chrome extension or Hemingway Editor to make sure you’re using good grammar and your event description is easy to understand.
4. Choose Your Category
As with all things in digital marketing, choosing the correct category is key. If you choose a category, this will help people understand exactly what’s going on at your event.
5. Set Your Start and End Time/Date
Event times should automatically display in your time zone, but you can always mention the date, time and time zone in the event description. (We'll get to that later.)
6. Use an Attention-Grabbing Cover Image
If you have an image (or if you have the time and expertise to create one) give your event an attractive, attention-grabbing cover image to draw people in. Visual elements like photos tend to get higher engagement than text-only posts, giving you a better chance of getting more people to attend your event.
If you don’t have the time to create a graphic, you can use free stock photo websites. If you want to create something yourself, Canva, Design Wizard (Design Wizard has 10,000 free templates and more than a million images in their database!) or PicMonkey are good places to get started.

7. Add Co-Hosts If There Are Any
If you have musicians playing at your event or if you’re collaborating with someone, add them as a co-host! They’ll be able to post in the event and invite more people, giving your event an even greater reach.

8. Add Keywords
Adding keywords to your Facebook event is a great way to reach more people with similar interests. Keywords help Facebook know what the event is about and which users might be interested in attending your event based on their interests.

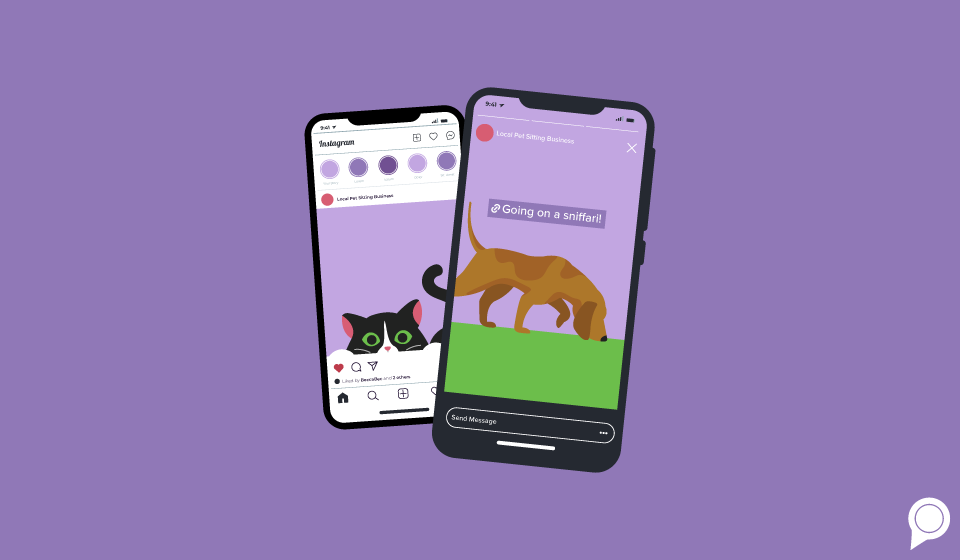
9. Messaging and Ticket Options
For messaging, you can choose to either turn this feature on or off. In my opinion, it's a good idea to have this option turned on if you are in charge of the event. This will allow people to directly ask you questions if they don't feel comfortable posting it on the event page.
The ticket feature hasn't always been an option for Facebook events! With this option, you are able to directly link to your website where people can purchase tickets. If the event is free, simply leave this section blank.

10. Allow People to Post on the Event Wall
Some businesses will want to moderate comments on a Facebook event, which means that people won’t be able to post in your event. Unless your event is controversial in some way, this is probably a bad idea.
If people can comment, they can tag their friends and help you build hype for the event. It’s free marketing for you, so allow your attendees to post on the event wall.
If you’re worried about inappropriate comments, you will probably get notified any time someone posts a comment, which means that you will be able to go in and delete the comment if necessary.
While your event will show up for local Facebook users and often be recommended to people based on whether or not friends are planning to attend, you shouldn’t just post your event and forget about it.
You’ll also need to promote it!
How to Promote Your Facebook Event
You can share your event on your Facebook page to quickly remind your followers that the event is coming up. I wouldn’t recommend doing this more than once or twice a week, though. More than that would be overkill.
As far as length of promotion, you should probably promote each event on Facebook for at least two weeks, and longer if it’s something people usually plan for in advance. Four weeks is probably a good length of promotion for most events.
Don’t forget that you can boost your event like you can boost a Facebook post, so if you have the budget, add in your targeting options and boost that event for a week or two to get more attendees.
Here are the steps you’ll need to take to boost your Facebook event:
Here are a couple more ways to promote your event on Facebook:
Final Thoughts
Don’t neglect the people who have already RSVP'd "yes" by only focusing on new attendees. Keep engaging with people who are interested in your event to keep the event fresh in their minds and build hype.
You can do this by asking people a question about what they’re most excited for, suggestions for the agenda or even just ask an icebreaker question to get the conversation going.
If you have sample products, services or menu items, you could also post a sneak peek to give people an idea of what they’ll experience the night of the event.
Isabella Andersen, Content Contributor
Subscribe to our email list to get the latest digital marketing content delivered to your inbox each week!